
PROJECT OVERVIEW:
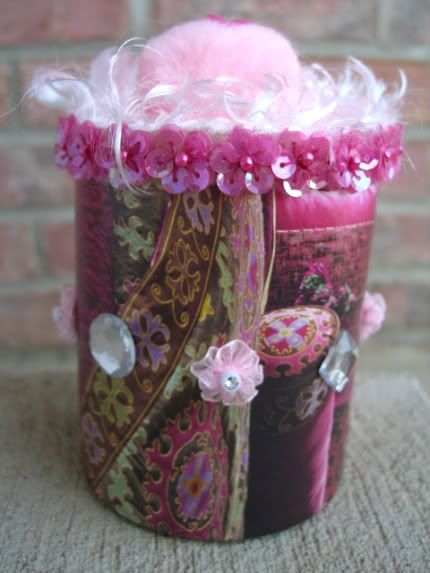
This project has many decorating possibilities! The goal is to convert an empty food tin/canister into a decorative "Trinket Tin" that might keep jewelry, coins, and other trinkets.
TIP: Consider following a theme for your tin to express yourself! For example, if you like cats you could find cat pictures in magazines and glue them to your canister. :)
Have fun - ANYTHING GOES!!!!
SUPPLY LIST:
- empty tin canister and lid (roughly small peanut size)
- scrap papers
- scrap embellisments (glitter, sequins, stickers, buttons, etc)
- ribbon/bow, etc
- glue or double sided adhesive tape (scrapbooking dots)
DIRECTIONS:
1) Rinse out your tin and lid.
2) Cover the entire outside of tin/canister with scrap papers (using glue or tape). Be creative, there are many ways to cover the tin such as: wrapping with paper, covering with torn paper scraps, etc.
3) Further decorate your Trinket Tin with found embellishments such as: glitter, sequins, stickers, buttons, etc.
4) Decorate the lid with some sort of "topper" such as a bow or ribbon. Be creative, again...anything goes!
5) Set your Trinket Tin aside to dry.
6) When dry, fill with trinkets for safekeeping. Perfect for your bedroom dresser :)


1 comment:
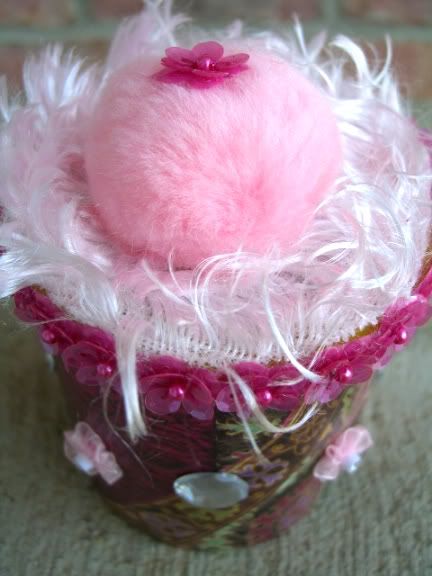
The tin was fun to do. My youngest daughter did this one, and she wanted pink, fur, and bling. So, she did a fun recycled paper on the tin that had hot pink as one of the colors. Then she added some gems and ribbon flowers to the side. She topped the tin off by adding fuzzy pink fur to the lid with pink flower trim. The finishing touch was a giant pink pom-pom on the top. She loves it!
I know that if each of my children would have made one they would have each been so different and unique...it would have been fun to see! The possibilities are endless!
Susan
Post a Comment