

OBJECTIVE: For kids 6+
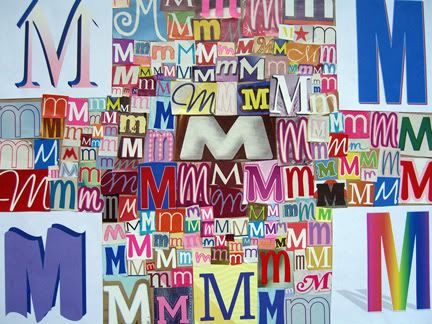
To explore typography and different fonts by collecting the same letter/character. Kids are encouraged to hunt for unique, funky, different fonts... all of the same letter. Search for different fonts such as: cursive, decorative, bubbly, block, digital, calligraphic, hand drawn, scribbly, etc. NOTE: the differences of each letter are in the SHAPE of the letter (font) NOT the color.
SUPPLY LIST:
- card board backing (cereal box cardboard works great)
- scrap printed materials such as: newsprint, magazines, catalogs, bulk mail, TV guides, etc.
- glue or glue stick
- scissors
DIRECTIONS:
1) Find a piece of card board to use as backing (something roughly letter sized) such as a medium sized cereal box or pasta box (cut out a side of box to use as your backing)
2) Select a letter of the alphabet to "collect" ... kids can do their favorite letter, their initial, it doesn't matter but just choose ONE letter.
3) Go through magazines, newspaper, junk mail, packaging, etc. and cut out a wide assortment of the letter chosen. Aim for 20-40 pieces to design with. NOTE: Don't be concerned with the color of each character, instead - focus on the SHAPE of each character.
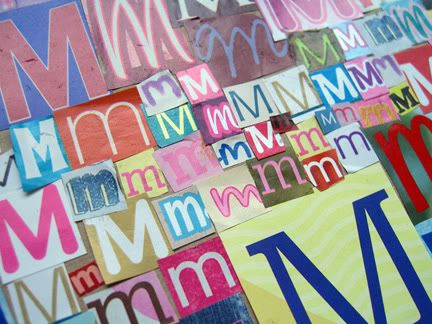
4) Arrange the different pieces on top of cardboard backing - don't glue down till each letter is in place... the pieces will need to be puzzled together. Cover the entire cardboard backing - so that there is little space between the letter pieces. Keep the letters upright, so that the fonts can be compared easily (this is a collection of one character in the alphabet).
5) Once the design is configured, glue down each piece. Then, lay a heavy book on top so that it dries flat.
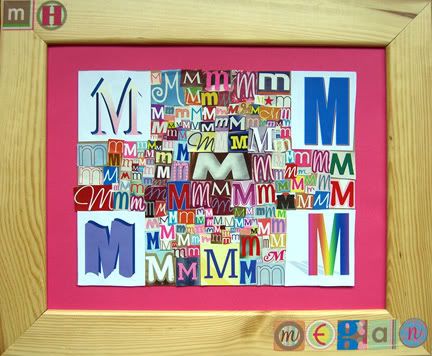
6) Hang on your bedroom wall as modern art. Consider having this framed for an ultra artsy and personalized look! :)


1 comment:
We used a recycled piece of cardboard for the back and then we cut out all the letter M's we could find in magazines, books, newspapers, etc. It's best to do a layout of the design before you start gluing your letters down. Once you get going with the layout, you will see what size letters you need to fill in any open spots. It looks best when the letters completely cover the cardboard area. After you have the layout design how you want it, then gluing each letter down goes fairly quickly.
The result is a collage worthy of framing. My daughter, Megan, designed this one with some help from her brother and sisters. She loved the mix of colors, sizes, letter fonts, etc. She wanted to frame it and hang it in her room. We glued the finished project to a colored piece of heavy paper (card stock, mat board, or even painted card board could be used). Then we glued this to the back of a frame. For a finishing touch on the frame, she added some rub-on letters she had left over from a scrap booking project. It's simple and easy! It probably doesn't follow "proper" rules for framing a piece of art, but the result is something that my daughter loves and that she is proud of. Plus, we didn't spend all kinds of money, but rather recycled most items on our supply list.
If you do decorate a frame, you can get as creative as you want with any scrap embellishments you have around the house or think of items you can recycle to make something interesting for the frame. You can even recycle a frame from an old piece of art. You can also get creative and come up with a unique way to hang or display your new piece of art.
This is definitely a fun project for kids and would make a fun group project, as well.
Post a Comment