

PROJECT OVERVIEW:
For kids to mix the creativity of baking with art. This project includes: baking terms, fractions, measuring ingredients... as well as how to decorate and be artistic. Keep in mind there are many variations that could be done with this project.
SUPPLY LIST:
- 1 liter glass jar and lid
- scrap decorations: (scrap papers, ribbons, buttons, glitter, etc...)
- brown paper bag
- adhesive double sided tape
- glue
- marker, paint, etc
COOKIE INGREDIENTS:
- 3/4 cup packed brown sugar
- 1/4 cup white sugar
- 1 1/2 cups mini candy-coated chocolates
- 2 cups all-purpose flour
- 1/2 teaspoon baking soda
- 1/4 teaspoon salt
DIRECTIONS:
REMINDER: Wash your hands before you begin and make sure the counter top and supplies used are all clean.
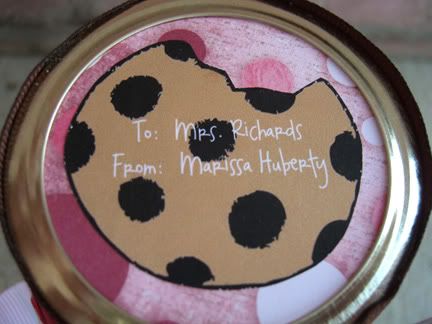
1) Decorate the lid of jar as you wish with scrap decorations. Set lid aside to dry if necessary.
IDEA: Use a 9" fabric circle to cover the jar lid and then tie with ribbon or yarn. Add stuffing beneath fabric to give a puffy look.One 1/2 yard of fabric makes 8 fabric jar covers.
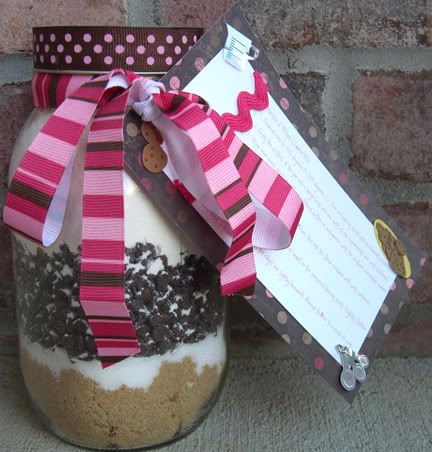
2) In a clean 1 liter sized glass jar layer the ingredients in the following order:
1st Layer (bottom of jar): 3/4 cup packed brown sugar
2nd Layer: 1/4 cup white sugar
3rd Layer: 1 1/2 cups mini or regular candy-coated chocolates
4th Layer: (READ CAREFULLY) **In separate bowl mix: 2 cups all-purpose flour, 1/2 teaspoon baking soda and 1/4 teaspoon salt. Then, add this mixture as the 4th layer in your jar.
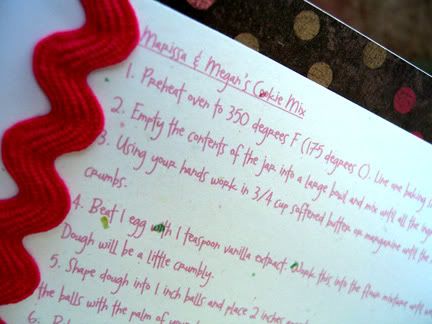
3) Create a recipe card for the cookie mix using scrap papers (roughly 3x5 size) and decor. Print or hand-write the recipe listed below so that your gift recipient can easily follow the recipe to prepare the cookie mix. Hole punch upper left corner of recipe card.
RECIPE: Candy-Coated Chocolate Cookies
1. Preheat oven to 350 degrees F (175 degrees C). Line one baking sheet with parchment paper.
2. Empty the contents of the jar into a large bowl and mix until all the ingredients are well combined.
3. Using your hands work in 3/4 cup softened butter or margarine until the mixture resembles coarse crumbs.
4. Beat 1 egg with 1 teaspoon vanilla extract. Work this into the flour mixture until well combined. Dough will be a little crumbly.
5. Shape dough into 1 inch sized balls and place 2 inches apart on the prepared baking sheet. Slightly flatten the balls with the palm of your hand. Bake at 350 degrees F (175 degrees C) for 10 to 14 minutes or until the edges are lightly browned. Remove cookies to a rack to cool. Makes about 2 dozen cookies.
NOTE: Mix is good up to 6 months (without nuts) and 3 months (with nuts).


1 comment:
This project was a real TREAT! Not only was it fun, but so many great skills were incorporated.
Then there is also the great math skills that can be learned from cooking and baking. As a teacher, I loved teaching classes like Kitchen Chemistry. Kids have fun practicing fractions and so much more. This is also a project that is designed to be given to someone else, so this can be a lesson in giving and sharing. This is a great project to give as a holiday gift, or even as a teacher gift for when the kids head back to school. Baking and cooking are such important life skills and to be able to do it in such a fun way, is great. Just spending time with your kids is so important. Let them get on their own little aprons and join in the fun (better watch them around the chocolate chips in this one).
There are a lot of great Jar Mix cookbooks and recipes out there. I have some to make bars, cookies, cakes, breads, muffins, and more! So, start saving those jars and make a whole bunch as gifts.
Be sure to consider saving the following...scrap booking supplies, cards, magazines, newspapers, catalogs, ribbons, bows, wrapping paper, tissue paper, buttons, flowers, stones, shells, jewels, popsicle sticks, boxes, jars, extra shoelaces (spare pair), sequins, odd mittens, fabric remnants, seed packets, candy wrappers, yarn, doilies, snack size containers, and any other items you can creatively recycle.
- Tazetta
Post a Comment